Blog
Installing the Rear Seal and Wear Sleeve on the International Navistar Engine
First step: Choosing the correct rear seal installer for the Navistar DT360, DT466, DT466E, 1530E, 570, 570HT
The fact Navistar has 3 different seal sizes on the 466 engine leads to confusion on what rear seal installer I need to order. This is actually easier than it sounds if you follow one important step. All you need to know is what size is my seal in the engine?

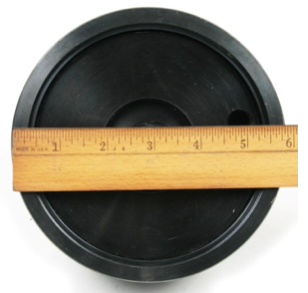
Early DT360, DT466 1975-1993 M50050 or ZTSE2535C Mitchell1 calls out for a 5.50” Flange OD and a 5.00” Crank diameter. We do not have exact seal dimensions on the seal but if your seal OD is under 6” this is your driver.

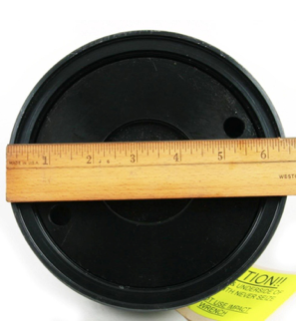
EGR Engines 466E, I530E, 570 1995 & Newer M50135 ZTSE4749 6.50” OD 5.7” ID

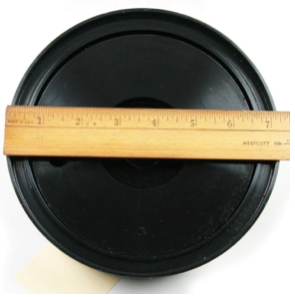
466, 570HT M50132 ZTSE4637 7.3” OD 6.2” ID
As you can see every seal is separated by almost one inch. If you measure the seal even with a yard stick you can choose the correct seal driver.
Removal & Installation of the rear seal and wear sleeve.
Removal:
--Remove two flywheel mounting bolts. (across from each other) Install guide dowel pins in bolt holes. Remove remaining flywheel bolts
--Slide flywheel out of housing, off of guide studs and away from crankshaft
--Remove oil seal carrier bolts from crankshaft
--With plate attached, use punch to make holes in old rear seal
--Insert sheet metal screws in each hole and pry rear seal from carrier
--Carefully remove wear sleeve with muffler chisel and air hammer
Installation:
--Check Flywheel concentricity with dial indicator
--Check flywheel housing face runout with dial indicator
--Install new rear oil seal and wear sleeve using proper sized seal installer chosen above. Install inner plate to crankshaft flange using mounting screws. Coat inside diameter of wear sleeve and outside diameter of oil seal with aviation permatex. DO NOT get sealant on seal lip or outside diameter of wear sleeve
--Position oil seal and wear sleeve over centering plate and onto crankshaft flange. Place oil seal installer over centering plate and studs. Turn forcing nut on installer until seal and sleeve are fully seated in bore.
As always please refer to your service manual for the most up to date procedure. This article is only meant to be a guide and not repair instructions.
Happy Wrenching!
--Fred Neff
©2016 Apex Tool Company

